My Go-To Sticker Sizes for Small Business Packaging
My Go-To Sticker Sizes for Small Business Packaging
If you’ve ever spent way too long trying to figure out what sticker size to order for your business, you’re definitely not alone. I used to guess—and wasted so many rolls of stickers because they were either too tiny to read or way too big to fit nicely on my packaging.
Over time (and after testing lots of batches), I’ve come up with my go-to sticker sizes that work well for most small business needs. I’m sharing them here in case you’re also tired of guessing and want some real-life examples that actually make sense.

Thank You Stickers – I Like 1.5" or 2"
For those little round “thank you” stickers I tuck into every package, I’ve found 1.5" to 2" to be the sweet spot. If it’s going on a flat mailer, 1.5" is usually enough. But if you’re placing it over tissue paper or sealing a box, 2" gives just enough space to show your brand or a cute message.
Smaller than that, and people squint. Bigger, and it feels like a patch.
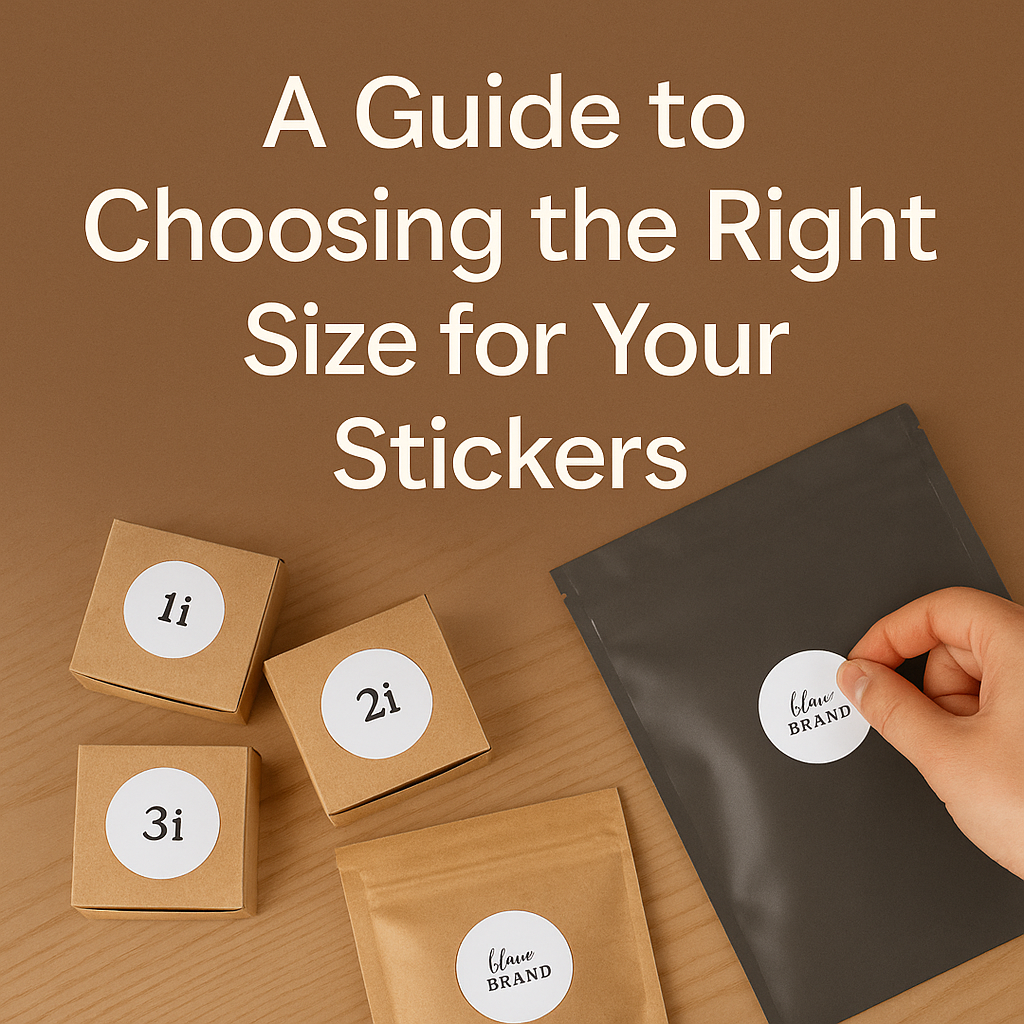
Logo Stickers – Usually 2" to 3"
When it comes to my logo stickers (the ones I actually send out as freebies or stick to my shipping boxes), I love the 2.5"–3" range.
3" is great for laptop-style branding. It gives your design enough room to breathe. I usually stick one on the back of each rigid mailer or right on the front of a product pouch.

Product Labels – Depends on the Product
This one’s a little trickier because size totally depends on what you're labeling. For example:
-
Small jars (like lip balm): 1.25" is ideal
-
Coffee bags or kraft pouches: 2" square or circle
-
Flat gift boxes: 2.5" – 3" looks polished
What helped me? I printed out paper samples with different diameters and stuck them on my actual products before ordering.
Gift Wrap Seals – Go With 1"
For tissue paper, I go smaller—usually 1". It’s subtle, fast, and gets the job done without overpowering the unboxing experience.
If I’m doing a fancier presentation for seasonal items, I’ll go up to 1.5" and sometimes use a clear background sticker for a floating look.
Things I Learned the Hard Way

Here are a few lessons I learned from ordering the wrong size (so you don’t have to):
-
Always measure the exact spot where the sticker will go
-
Round designs appear smaller than squares at the same size
-
If you’re unsure, size up (too small is worse than too big)
-
Die-cut stickers with detailed shapes usually need more space
How I Organize My Stickers by Size
Okay this might sound super nerdy, but I actually sort all my stickers by size into labeled dividers. It saves me time when I’m packing 20+ orders at once and need to grab the right one quickly.
I also use different envelope sizes for each sticker batch so I don’t waste packaging material.
What Size Should You Start With?
If you’re just beginning and don’t want to commit to 10 sizes at once, here’s my starter suggestion:
-
1.5" round for thank-you seals
-
2.5" die-cut for branding
-
2" square or round for products
From there, adjust based on how your packaging looks and feels. Don’t overthink it—just test small batches and go with what fits naturally.
For a visual guide on using stickers to build brand recognition, check out this guide from

Canva: This guide from Canva on using stickers to build brand recognition.